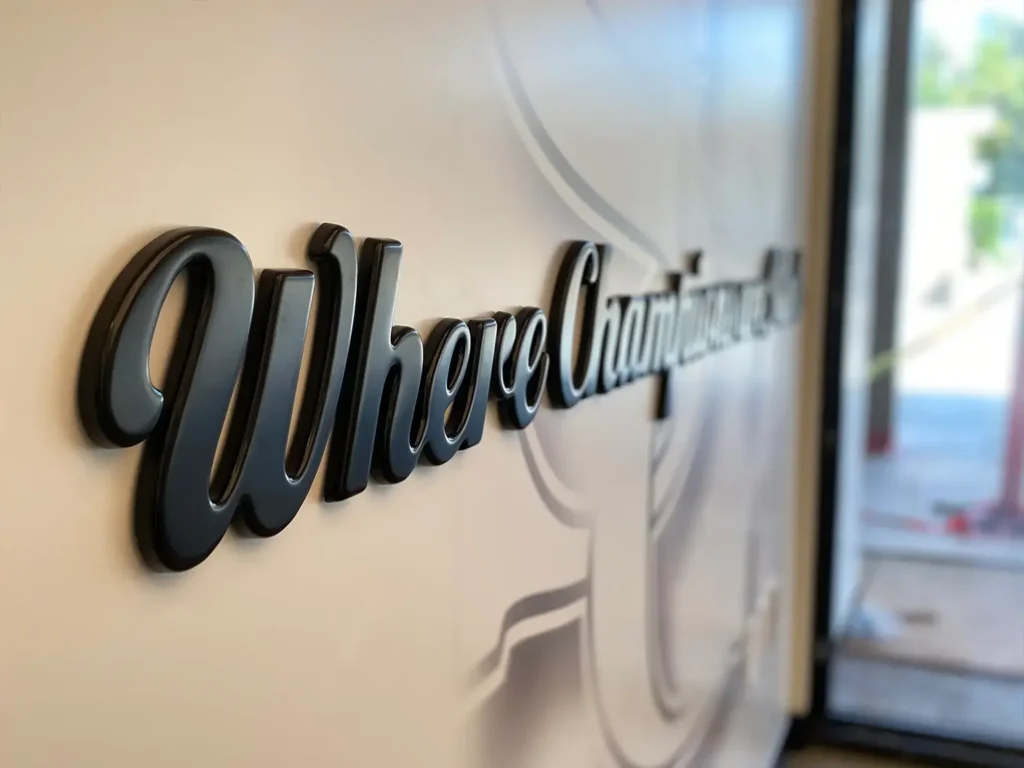
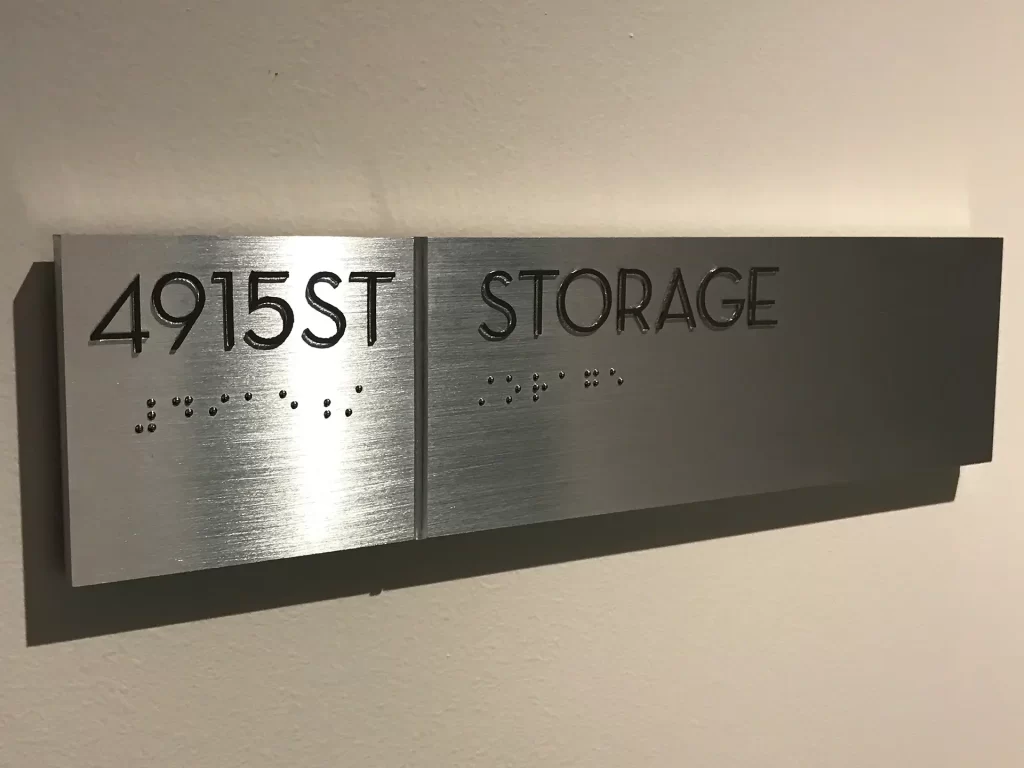
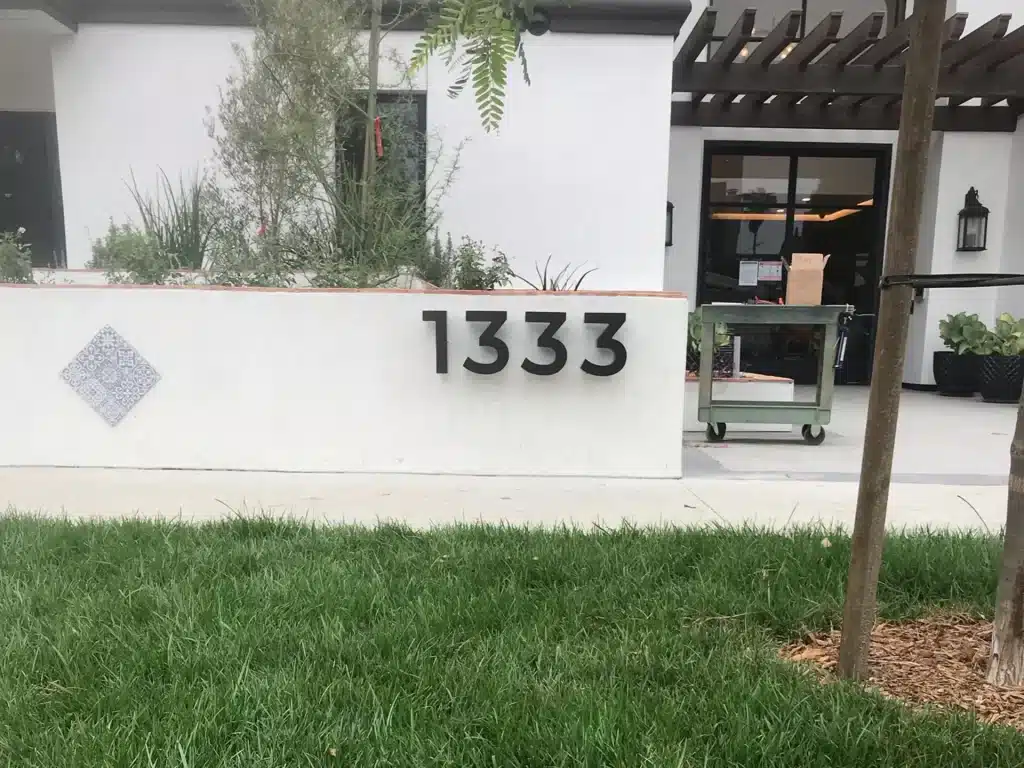
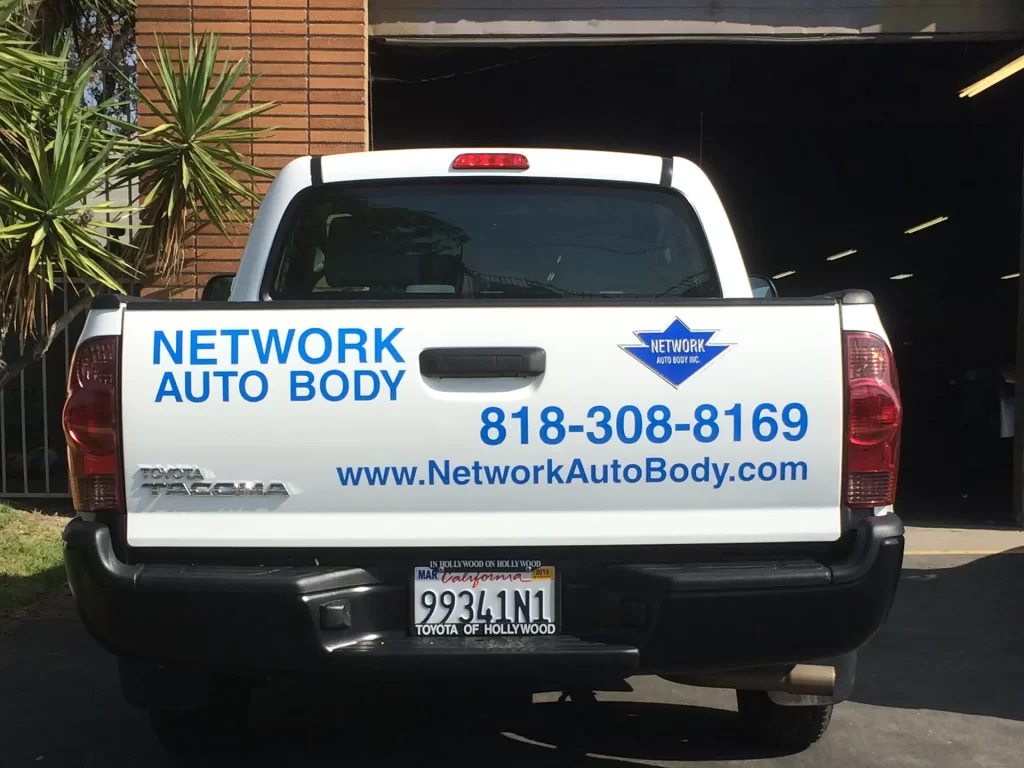
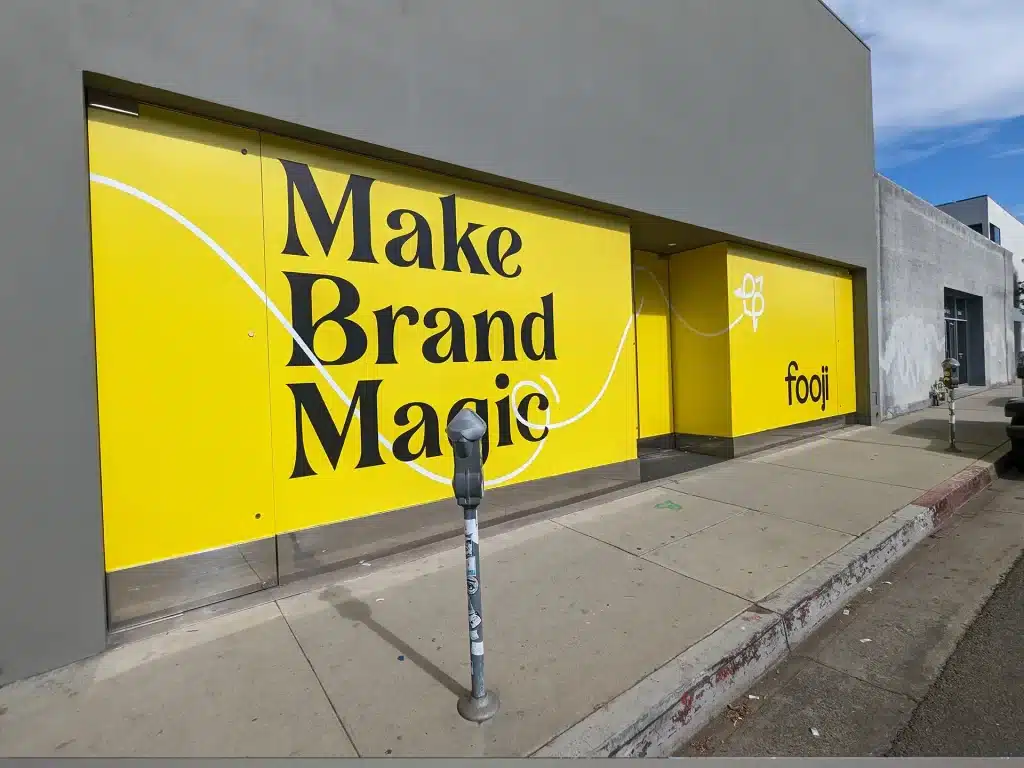
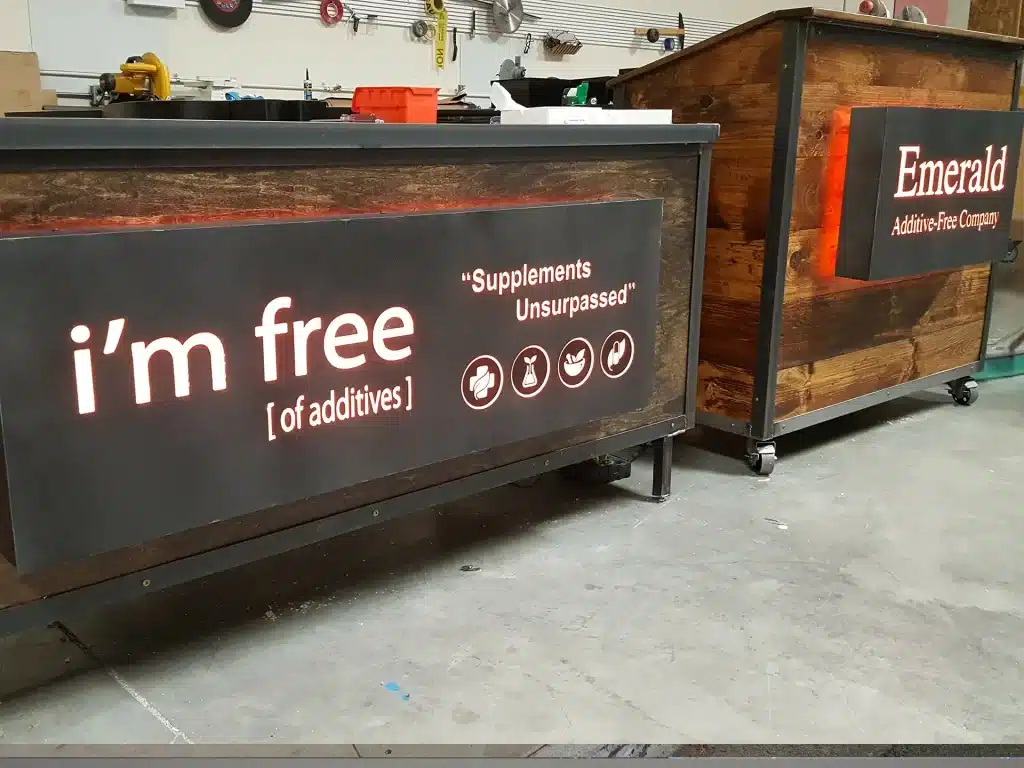
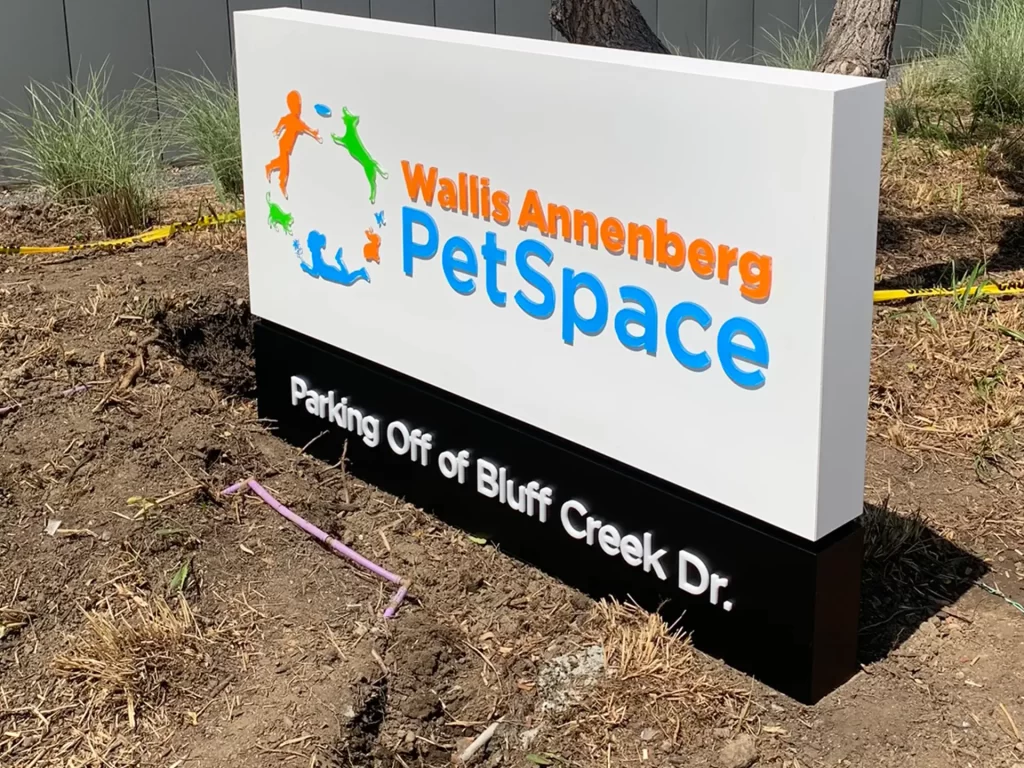
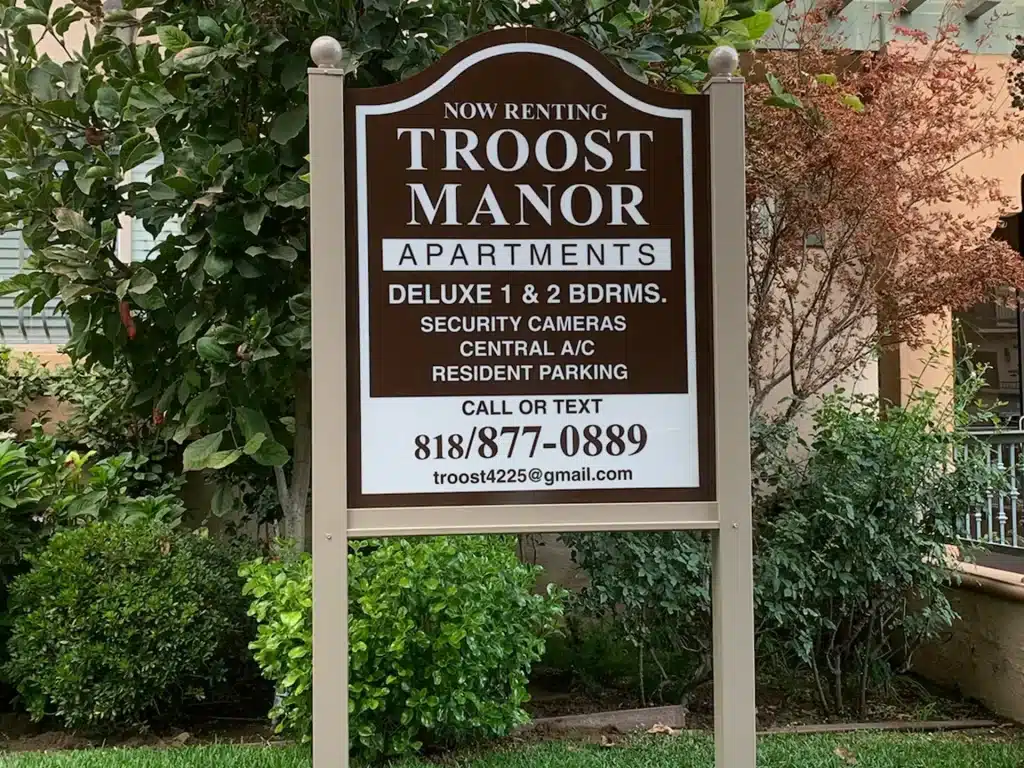
Evacuation map signs are necessary for any new public construction or a public building that is being renovated if you want to be up to code. The graphics on the signs vary depending on where they are located in the building so, during production and installation, a lot of attention to detail is required. While colors can be customizable as long as the copy contrasts with the background, there are a few rules that the signs need to follow. For example, the signs are made from non-glare clear acrylic to make sure that there will not be any issues reading it in the case of an emergency. The placement is also important. The design and size of the building will influence the number of evacuation maps that are necessary and where they need to go.
The graphics were digitally printed and applied second surface, which means that they are applied on the back of the acrylic. We do this by revere printing the graphics onto transparent vinyl, and then backing it with white vinyl to create a white background. If we didn’t apply the white vinyl background, you would see straight to the wall and the graphics would be difficult to read. We used Oracal 3651G for the transparent vinyl and Oracal 751C for the white vinyl. The acrylic is 1/8″ thick, and since vinyl is very thin, the entire sign is around 1/8″ thick and 12″ x 12″.
To mount the signs onto the wall we use 3M brand very high bonding (VHB) tape and silicone. The silicone will hold the signs just fine, but it takes a while to dry so we use the VHB tape to hold the signs in place while the silicone dries. VHB alone would not be stong enough to hold the signs up for a long period of time so we’ve found that using both in junction is a great solution.